New Software Platform Advances Understanding Of Surface Finish Of Manufactured Components
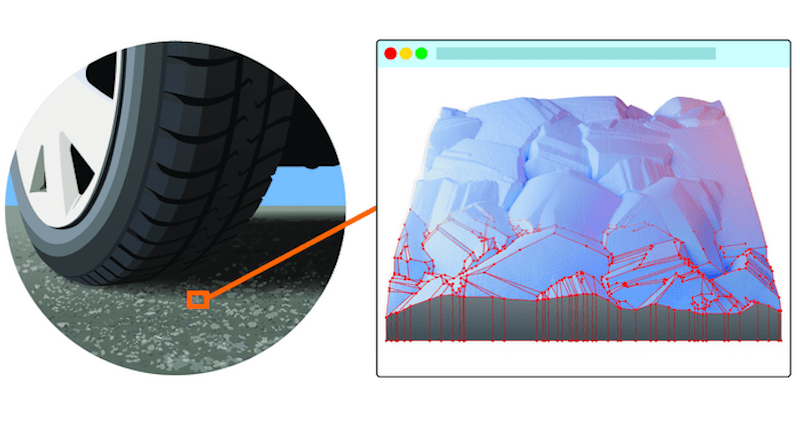
Scientists from the University of Freiburg, Germany, and the University of Pittsburgh have developed a software platform that facilitates and standardizes the analysis of surfaces. The contact.engineering platform enables users to create a digital twin of a surface and thus to help predict, for example, how quickly it wears out, how well it conducts heat, or how well it adheres to other materials. The team included Michael Röttger from the Department of Microsystems Engineering, Lars Pastewka and Antoine Sanner from the Department of Microsystems Engineering and the University of Freiburg’s Cluster of Excellence livMatS, and Tevis Jacobs from the Department of Mechanical Engineering and Materials Science at the University of Pittsburgh’s Swanson School of Engineering. They presented the software platform in the journal Surface Topography: Metrology and Properties.
Topography influences material properties
All engineered materials have surface roughness, even if they appear smooth when seen with the naked eye. Viewed under a microscope, they resemble the surfaces of a mountain landscape. “It is of particular interest, in both industrial applications and scientific research, to have precise knowledge of a surface’s topography, as this influences properties like the adhesion, friction, wettability, and durability of the material,” says Pastewka.
Saving time and cost in manufacturing
Manufacturers must carefully control the surface finish of, for example, automobiles or medical devices to ensure proper performance of the final application. At present, the optimal surface finish is found primarily by a trial-and-error process, where a series of components are made with different machining practices and then their properties are tested to determine which is best. This is a slow and costly process. “It would be far more efficient to use scientific models to design the optimal topography for a given application, but this is not possible at present,” says Jacobs. “It would require scientific advancements in linking topography to properties, and technical advancements in measuring and describing a surface.”
The contact.engineering platform facilitates both of these advances and standardizes the procedure: It automatically integrates the various data from different tools, corrects measurement errors, and uses the data to create a digital twin of the surface. The platform calculates statistical metrics and applies mechanical models to the surfaces, helping to predict behavior. “The users can thus identify which topographical features influence which properties. This allows a systematic optimization of finishing processes,” says Pastewka.
Facilitating open science
The software platform also serves as a database on which users can share their measurements with colleagues or collaborators. Users can also choose to make their surface measurements available to the public. When they publish the data, a digital object identifier (DOI) is generated that can be referenced in scientific publications.
“We are continually developing contact.engineering and would like to add even more analysis tools, for example for the chemical composition of surfaces,” says Pastewka. “The goal is to provide users with a digital twin that is as comprehensive as possible. That’s why we also welcome suggestions for improvements to the software platform from users in industry and research.”
The development of contact.engineering was funded from the European Research Council and the US National Science Foundation, as well as from the University of Freiburg’s Cluster of Excellence Living, Adaptive, and Energy-autonomous Materials Systems (livMatS).

